Or Part 7 is actually not that outdated.
Late 2018 – better control on one side, more uncertain variables on the other side
Again it’s time for another round of my compression series. The premise stays the same: In a professional environment it is crucial to keep as many steps as possible under control – directors, agency and clients are distracted by even small changes in luminance or colors already when changing from a dark grading room environment to a lighter room for the presentation or at workstation screens.
Car clients want to be able to stop their film on any frame (this turns each frame into a print still image that could use endless tweaking) and still see their new unreleased car paint color evenly lit when the car is in the shadow and the sun in the same moment.
And some months later I see parts of this film at the luggage belt screens in the airport and the colors and contrast are way off. This was not how we delivered the film!
So many things you cannot control: color management changes in operating systems, new screens with wide gamut displays, automatic white balancing of screens (Tru-Tone), software players and converters that depend of metadata tags and so much more.
So at least it would be good to be certain that the luma&color values that I know (because I can measure them inside software) are still the same when I create a client review H.264/H.265 or a ProRes mastering file for example.
So, what’s new?
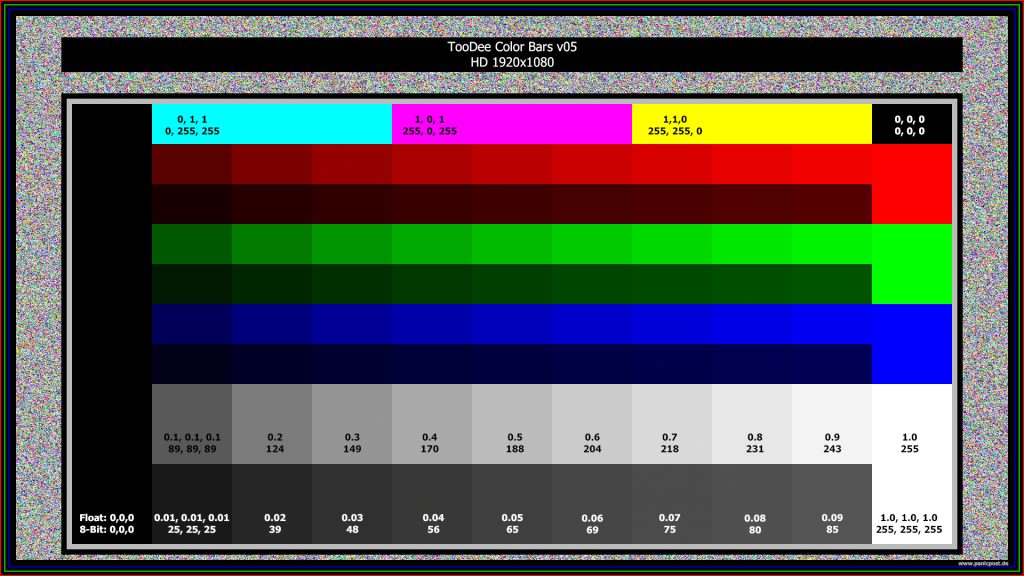
With MacOS Mojave (10.14.2) and FCPX (10.4.4) and Compressor (4.4.3) it was time to check on the latest changes and possibilities to encode an image sequence to a “mov-ie” file and review it hopefully with 100% identical color values in FCPX or the Quicktime Player X (10.5) via the “Digital Color Meter” (sRGB).
Like always I use a 100 frame image sequence with some color noise generated in Nuke and compress it this time to a H.264 and the newer H.265 (HEVC).
My hardware configuration also changed this year. I am using the new MBP 15″ with the Radeon Pro 560X with Tru-Tone enabled and the default display profile.
Starting off opening a TIF16 image and check its values with the “Digital Color Meter”. Apart from some minor rounding errors, nearly all the colors are looking right and measure correct. One exception: Blue – to be more precise the lighter blue shades. All the dark blue shades measure also correct but the lighter row above are mixing in Red so that the purest and lightest blue is measuring 25,0,255 instead of 0,0,255!
Okay, lets turn off Tru-Tone first. No effect – visually the colors change a lot but the actual measured colors stay the same. Next, change the display profile from the default “Farb-LCD” to “sRGB IEC61966-2.1 and suddenly the magenta and the blue are getting brighter and more “pure”.
Now the measurement is precisely matching 100% the printed values on the color chart. Why is the inbuilt profile so different especially in the light blue shades?
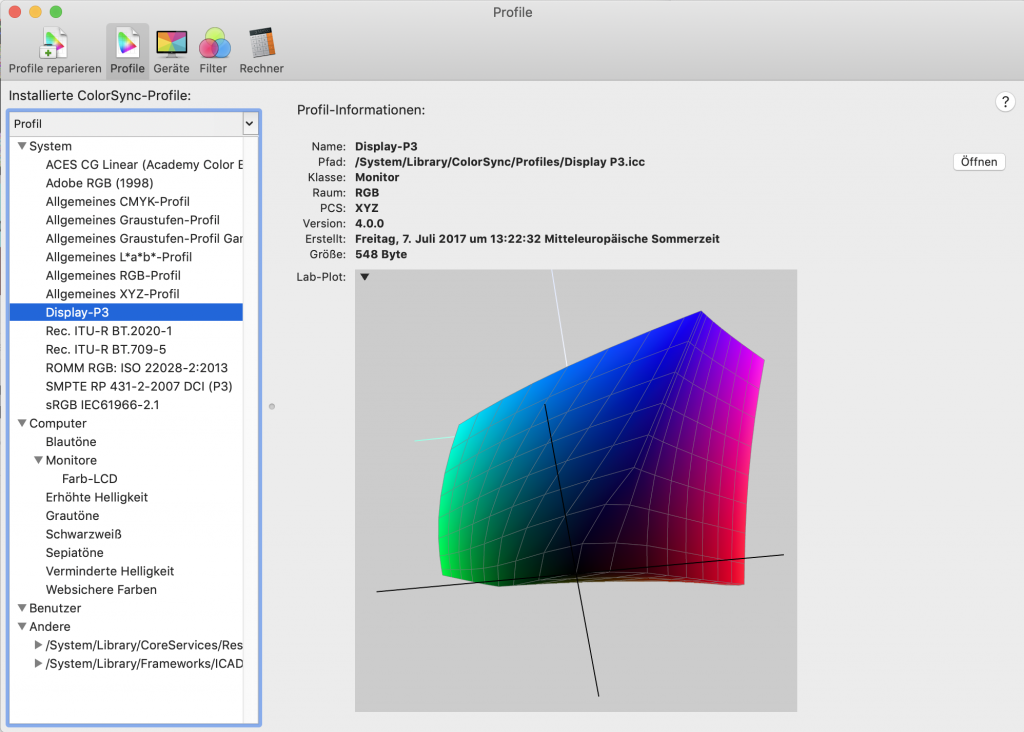
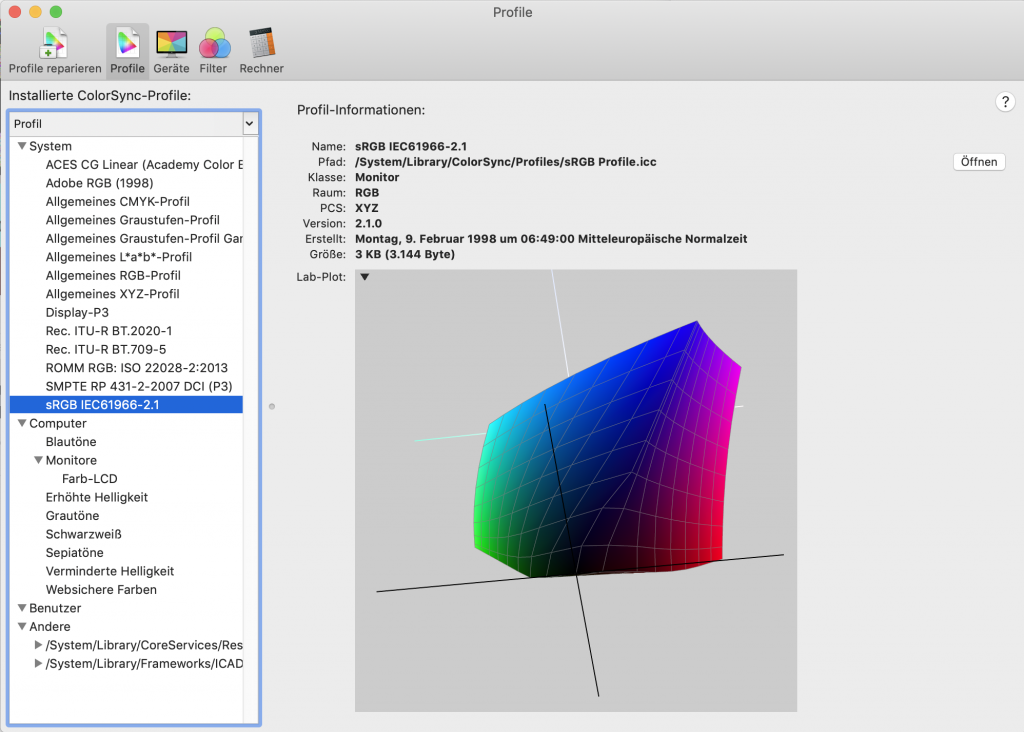
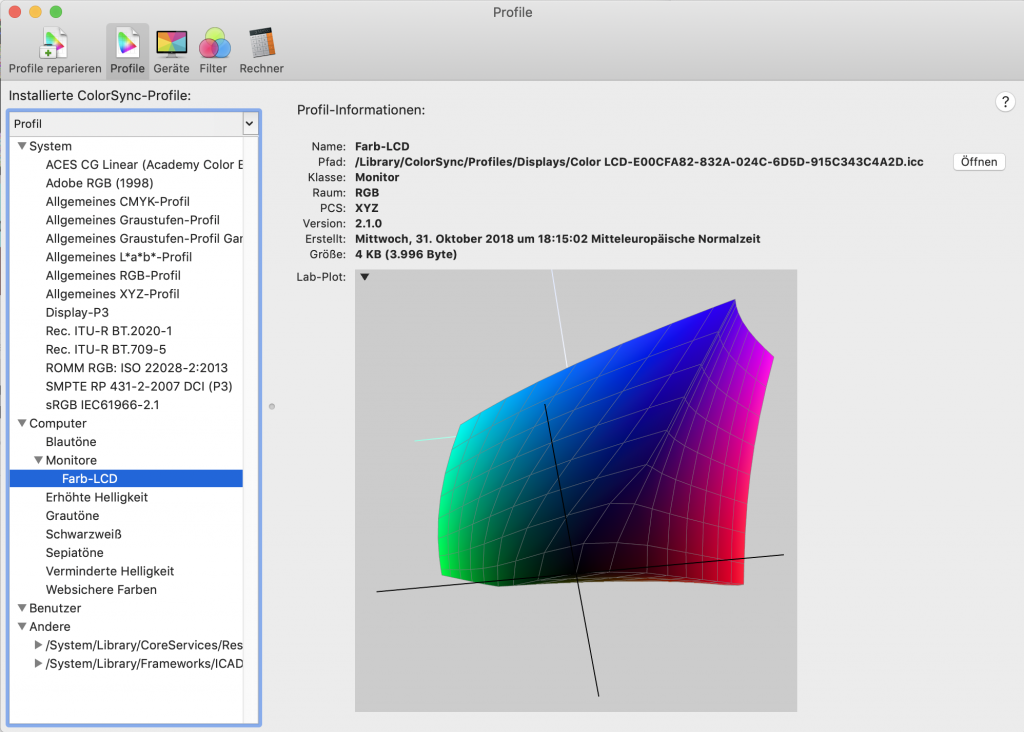
The ColorSync profiles from the default display, sRGB and Display-P3. Looks interesting but doesn’t help me to understand why red gets mixed into bluein the color chart.
Compressor
Compressor allows now to specify a colorspace when importing an image sequence. The TIF16 image sequence is automatically tagged right as sRGB. The compressed result is a HEVC-10Bit file by using the preset “Apple Devices 4K HEVC 10-bit”.
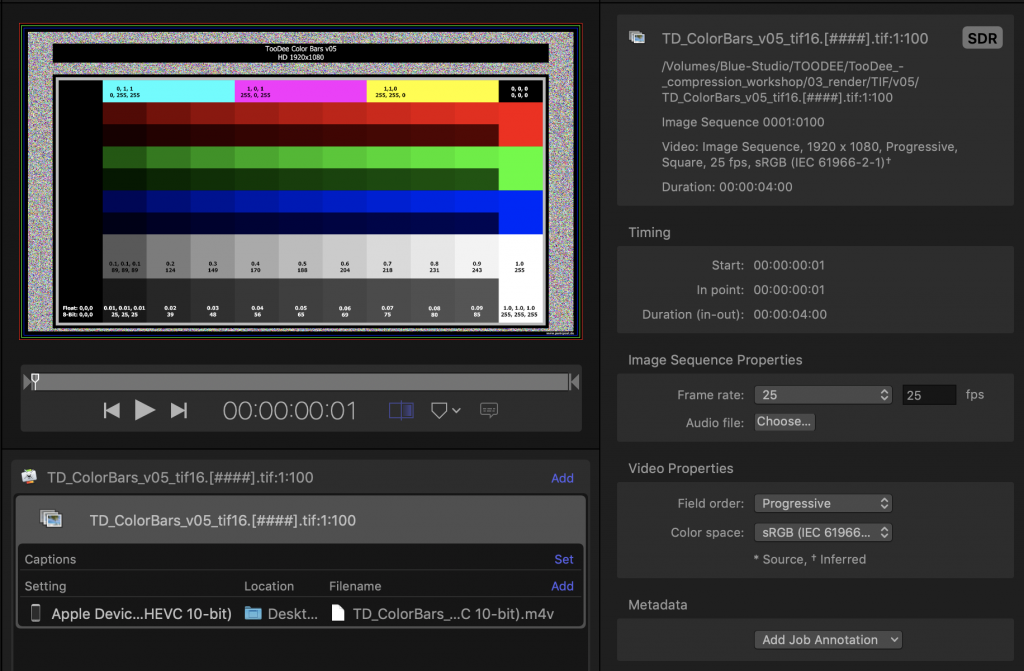
Open the .m4v file created with the TIF files in Quicktime player and check the values with “Digital Color Meter”. The exact same measurements like with the source TIF16 image. The blues only get “right” when changing the display profile to sRGB.
The .m4v file can be downloaded here.
Next… using an EXR half-float image sequence with Compressor.
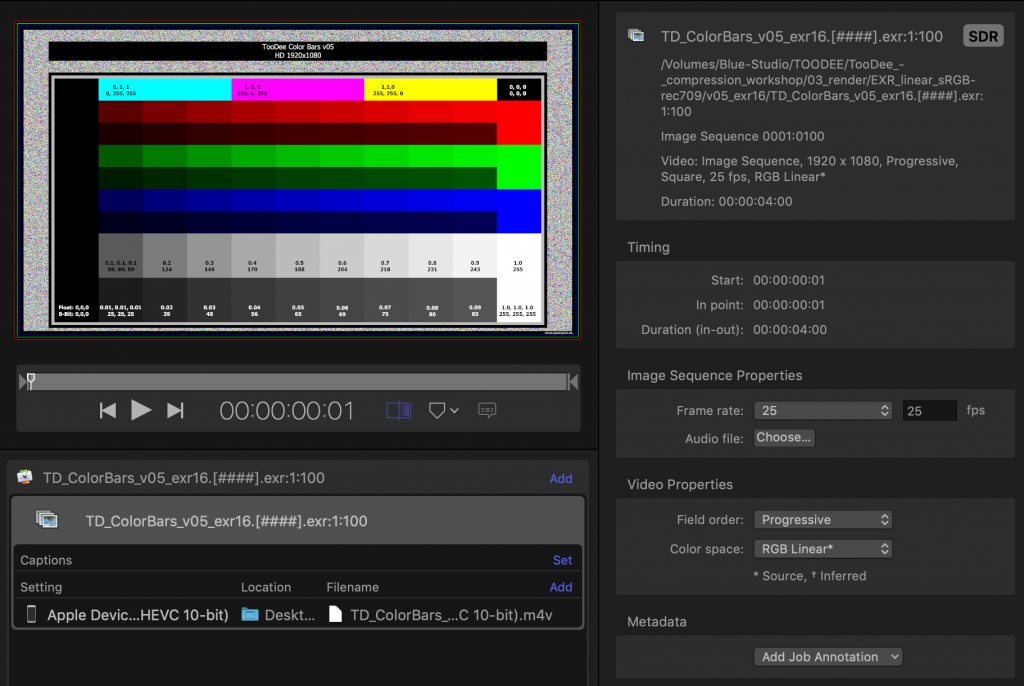
Open the .m4v file created with the EXR files in Quicktime player and check the values with “Digital Color Meter”. The exact same measurements like with the source EXR images. The blues only get “right” when changing the display profile from default to sRGB. The .m4v file can be downloaded here.
Conclusion
Already with the source files I need some tweaking in MacOs to see the “right” values. But then I can compare the source EXR & TIF image files and the compressed H.264 & H.265 files and be sure that no unwanted colorspace conversions and unwanted display transforms are applied on the way. Oh and MacOs is also able to handle linear RGB EXR files and apply a display transform (I guess simply sRGB) in Preview. Cool!
So “Preview”, “FCPX&Compressor” and the “Quicktime PlayerX” are working fine together. This should be expected, because these are all apps from Apple 🙂
Outside Apple – problems and inconsistencies with Nuke
The moment you use programs outside of Apple like Foundry/Nuke or VLC as a MediaPlayer problems occur.
- EXR sRGB/Rec.709 linear image sequence compress to a master format ProRes4444 via the Compressor and review it in the Quicktime Player works as expected and shown above.
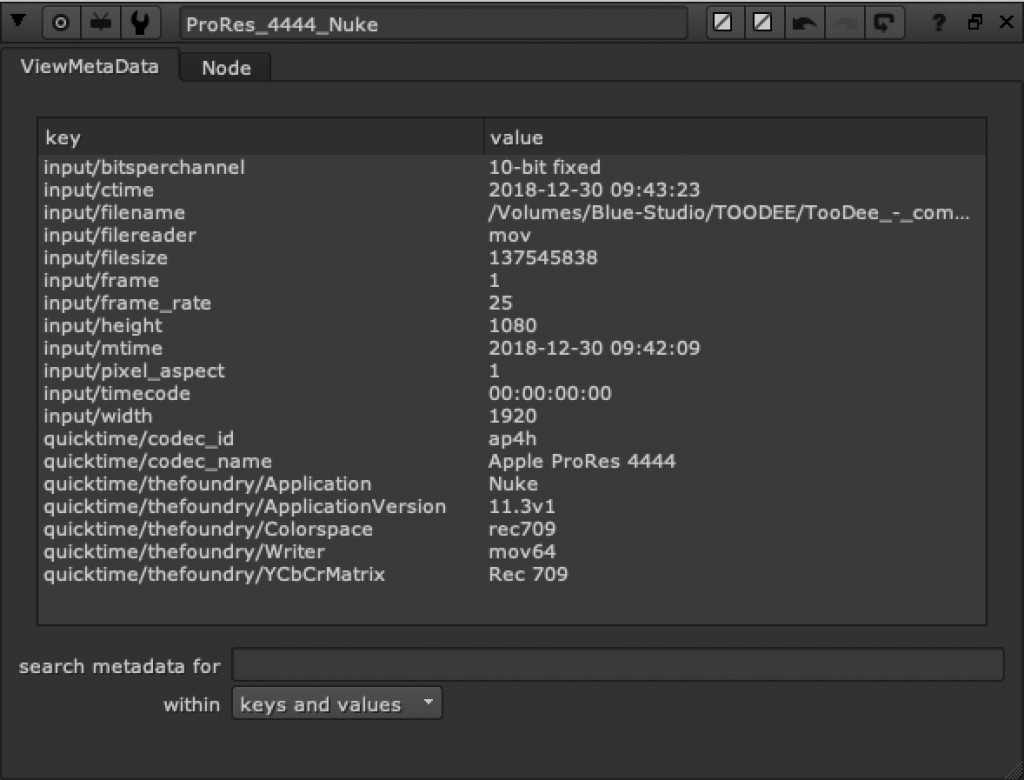
- Using the same image sequence in Nuke (Default Color-Management – so only gamma but no gamut handling) and write it out as a ProRes4444 (sRGB) file, result in a too bright greyscale and not pure RGB colors when reviewing it in QTx.
- Whereas writing out the ProRes4444 (Rec.709) file result in a too dark greyscale when reviewing it in QTx.
- On the other hand I can read a ProRes444 written by Nuke and compare it to the source EXR image sequence in Nuke with no problems – the ProRes4444 from Compressor shows higher values. (green 0.1 becomes 0.11, green 0.2 becomes 0.205. and 0.4 stays 0.4 – looks like an unwanted gamma curve)
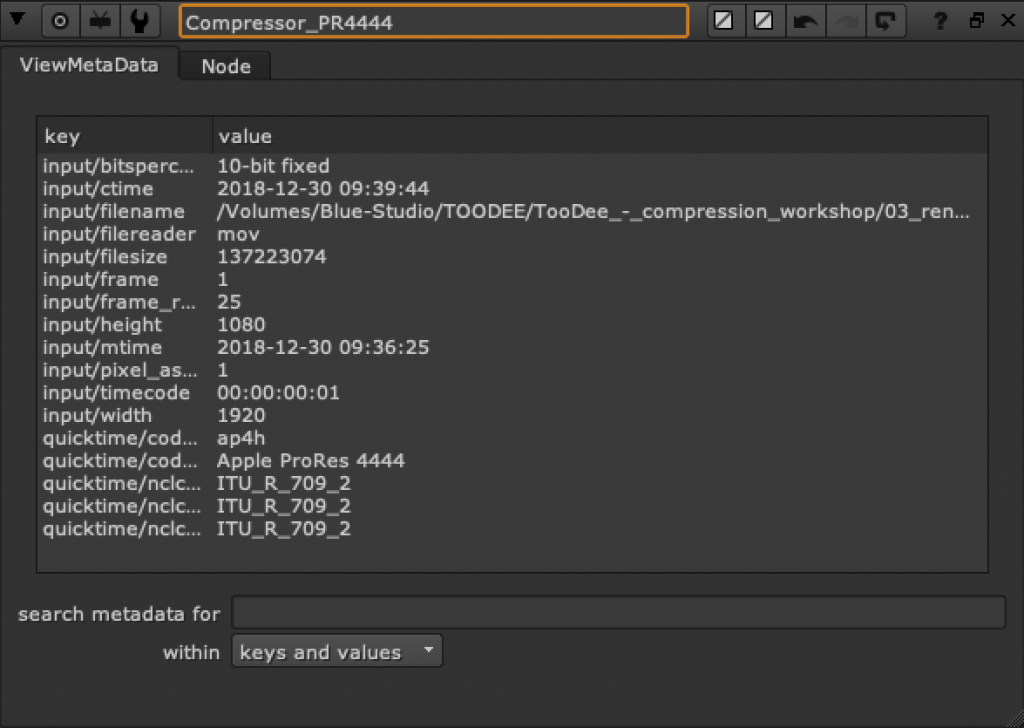
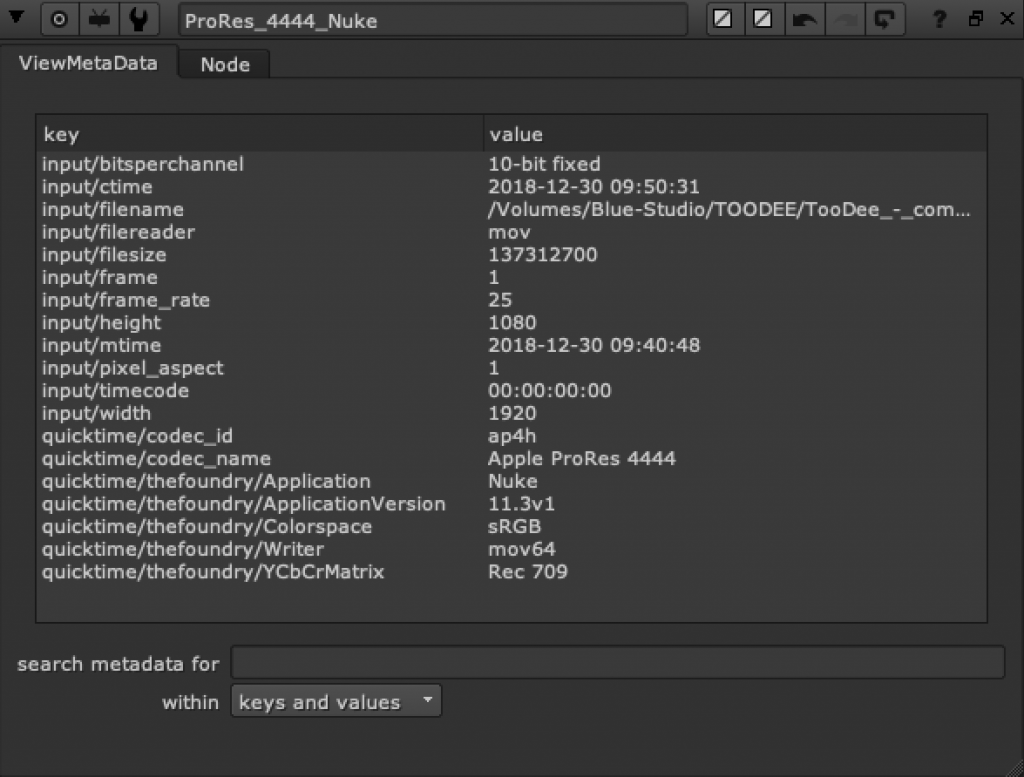
View in VLC… to be continued….
Here is the first image of the sequence as a TIF and EXR file – zipped.