Setup Blender 3.50 to work with ACES 1.2 using OpenColorIO (OCIO)
- Blender 3.2 is released and with this version comes a new override for colorspaces in the render settings. I tested out this new feature here.
- And as a MAC user (Intel iMac from 2020) I was looking forward to Blender 3.2 and Blender 3.3 Beta to get support for my AMD GPU with Metal. At the same time I found the first OCIO 2 config for 3D apps and setup a little test scene….and found a bug.
- This page and the content was created prior to Blender 3.0, but it’s still valid with Blender 3.0. I checked the functionality with a little tutorial in October of 2021.
The ACES 1.2 release candidate is the last version that will be available for the OCIOv1 framework. Newer OCIO configs that support the OCIOv2 framework are at a pre-release state at the moment. I will try to stop using the OCIOv1 configs and switch over the OCIOv2 configs. Please see the new page where I test out the OCIOv2 configs.
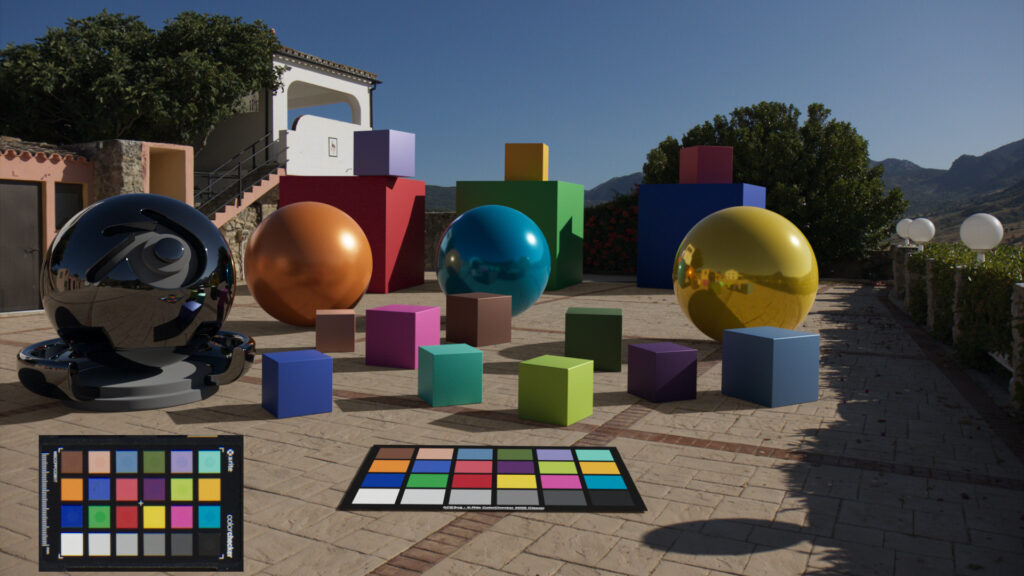
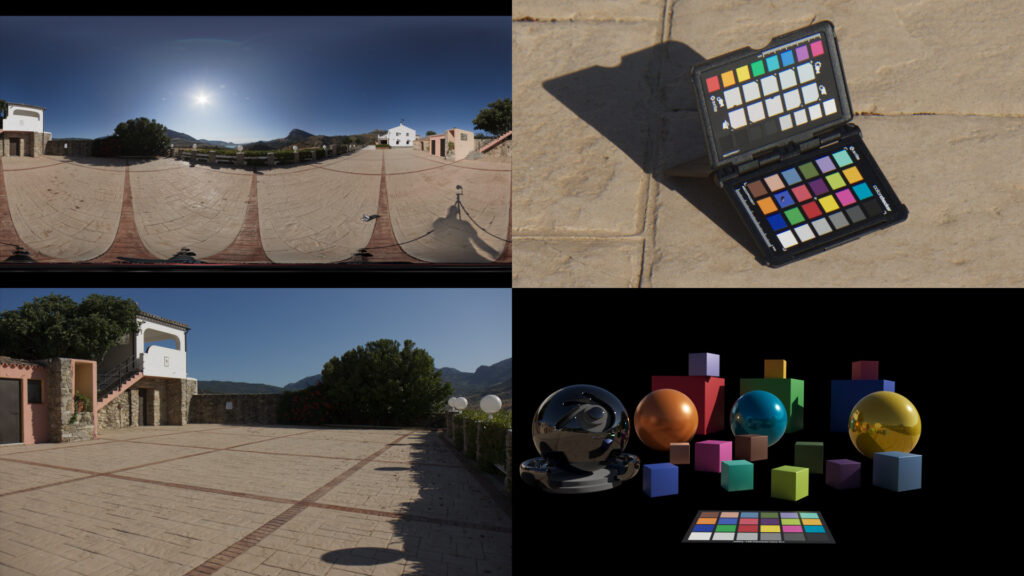
Some years ago I could not find a simple step by step setup to use Blender with ACES & OCIO on Mac and Windows. At the end here I figured it out and noted the steps down for others to find:
- Download the OpenColoIO config for ACES 1.2 (Release Candidate) from this link:
- github.com/colour-science/OpenColorIO-Configs/tree/feature/aces-1.2-config
- Unzip and place the config in your user folder or on a server location.
- Set a system variable for OCIO to this path. This allows to use it with all applications that supports it and don’t have an option in the preferences to set the path manually.
- Alternatively you can start Blender with the OCIO variable set only for one application.
- On MacOS I use Automator to create an App called “Blender_ACES”. In this app I use a shell script to set the variable and start Blender.
- For Windows I use a simple .bat file.
- I did not find an easier way to do it.
- Happy Blending…
- Oh, the latest 2014 color chart you can find here:
- github.com/colour-science/colour-nuke/tree/master/colour_nuke/resources/images/ColorChecker2014
MAC “Automator” script and PC “.bat file”
Automator MACOS:
export OCIO=/Users/daniel/MEDIA/ACES/OpenColorIO-Configs-feature-aces-1.2-config/aces_1.2/config.ocio
cd /Applications/Blender/blender.app/Contents/MacOS/
./blender
PC .bat file:
Set OCIO=D:\ColorManagement\ocio\aces_1.2\config.ocio
START “Blender 3.0.0” “C:\Program Files\Blender Foundation\Blender\blender.exe”
Using ACES in Blender
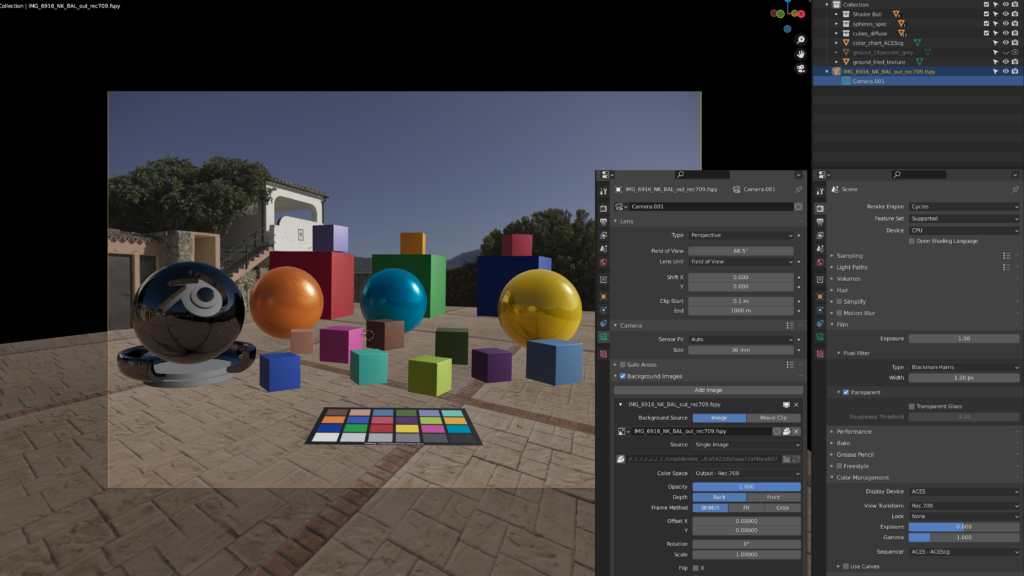
Why do you want to use Blender & ACES OCIO config instead of the default Blender FILMIC? There is ACES/OCIO support in Autodesk Flame, Foundy Nuke, Resolve, Affinity Photo and many more. And that means you can use a unified view transform pipeline in all these tools. Although all the tools that support OCIO could also use the Blender FILMIC OCIO config. Only in tools like Flame & Resolve you need to apply the FILMIC DRT (display rendering transform) via a 3D-LUT.
I am using in my work environment ACES most of the time so I am naturally interested to see how far the support for other OCIO configs goes in Blender.
Good to know
Sadly there is a persistent bug that shows the a wrong colorspace in the camera “Background Image” although it is loaded it into Blender with the inverse ODT. The sky is magenta instead of blue. There are more limitations when using Blender with an alternative OCIO environment. I noted to a small list of issues here:
1.5. Blender & ACES Limitations.
Please refer to the Understanding Gamut with ACES and Blender article to see some of implications using a wide gamut working (color) space and the “View Transforms” that ACES provide.
Also please find the Blender Filmic to ACES article here.
Use filename color tags to keep track of the colorspaces
ACES is not complicated to work with, but you need to keep track of the color spaces of each image source, the working (color) space of the program and the viewing pipeline.
ACES/OCIO proposes to use color space tags in the file names.
Here are a few examples e.g. filename_color space tag.0001.exr:
- _aces = ACES 2065-1
- _acescg= ACEScg
- _out rec709=Output Rec.709
- …
- The full list can be found in the OCIO colorspaces list/aliases.
Tools which support OCIO can often read the tags and set the colorspace accordingly. For example in Autodesk MAYA.
What happens if you forget to set the OCIO variable and open a Blender/ACES scene file?
The Blender scene in ACES – means the program is started with the OCIO variable set. All the colors look like expected.
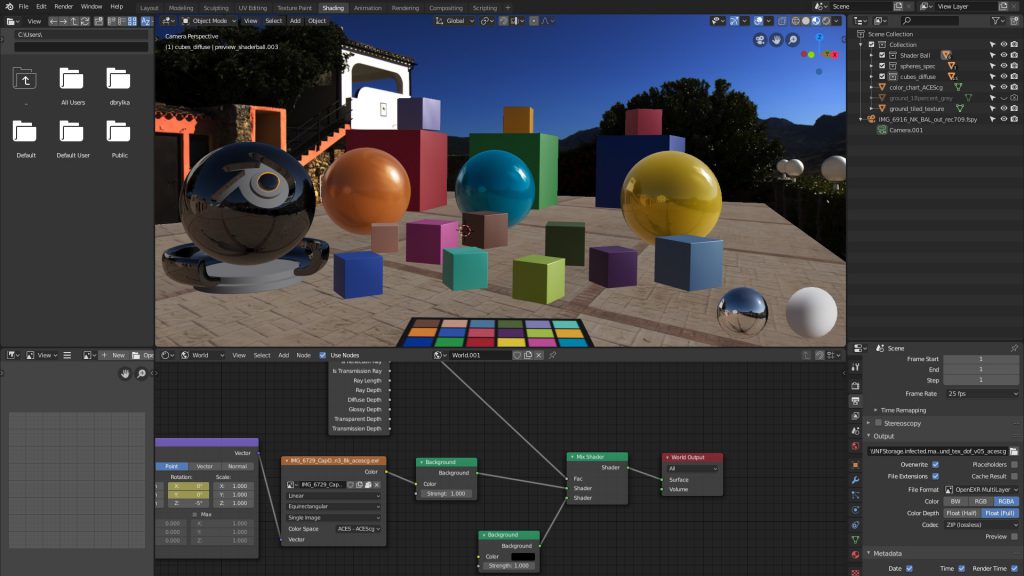
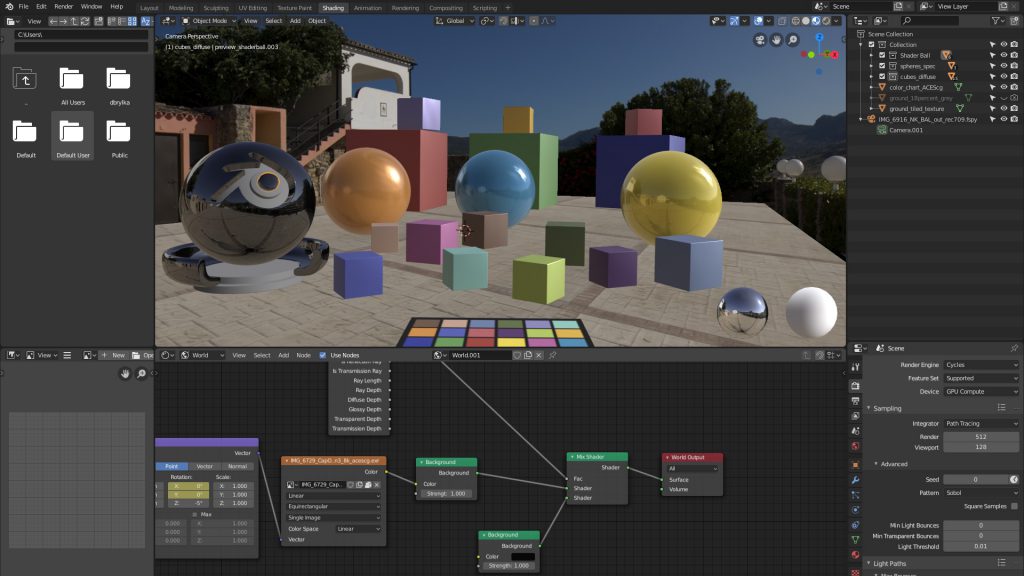
The Blender scene in default sRGB/Filmic – means the program is started without the OCIO variable set, but the Blender scene has image textures and an HDRI in the ACEScg colorspace. This could happen when you forget to set the OCIO variable on a different system for example.
What is happening now if you render that scene as an EXR file? Luckily nothing and the render result is just fine. The wrong view transform is not baked into the EXR file. But saving an image in a format with a baked in view transform like JPG or PNG would result in wrong colors.
The colors would look washed out and the contrast would be different to the ACES scene. FILMIC uses the sRGB/Rec.709 primaries and a custom tone mapping curve (check the official GitHub page). The image sources were already saved as ACEScg in my case so they look wrong in a non ACES environment. The ACES pipeline and the sRGB/FILMIC pipeline are using different DRT’s (Display Rendering Transforms).
Wrong view transform but identical image data in the EXR files.
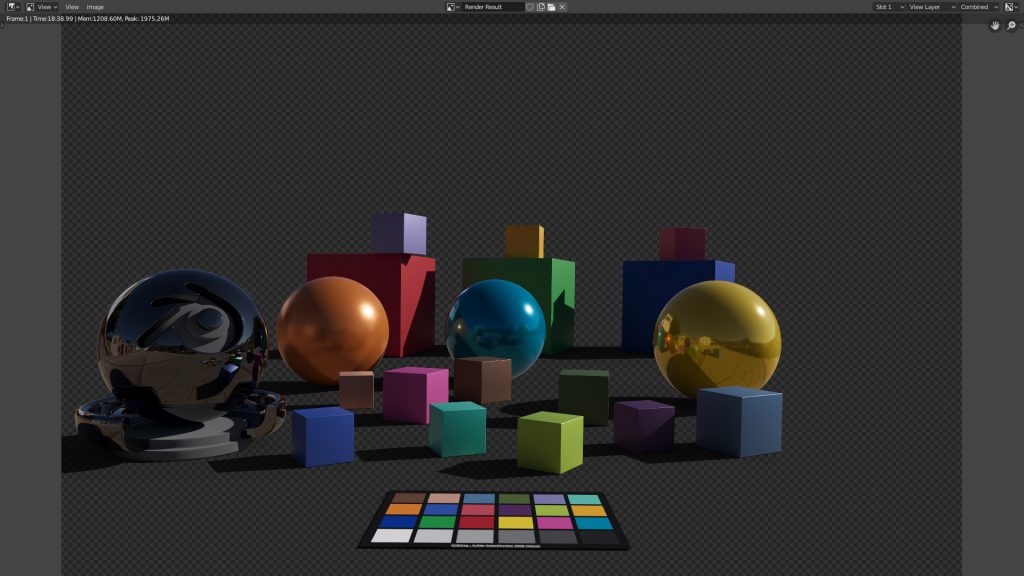
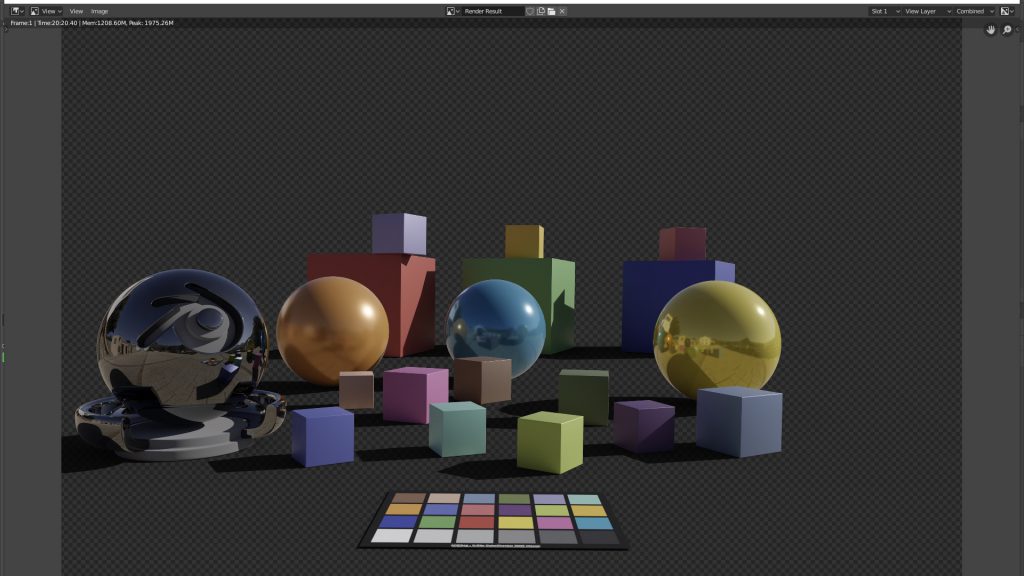
Take these two EXR renders and compare them for example in Nuke (set to ACES). The rendered images are identical. Without the OCIO variable set, Blender “sees” them just as linear without any gamut information. No gamut conversion takes place so the render calculation are the same in this case.
A different case would be different color space image sources are used to converted to ACEScg in the ACES-Blender. Then the render results would be different.
The default Blender with sRGB/FILMIC is a wonderful combination. But not a known standard for a lot of other programs. Thats why I prefer to work with Blender and ACES although there are still a lot of issues to be aware of.
The turntable is part of a recent article about color checkers on set and HDRI lighting in Blender & ACES. Continue with 2.4.4. Refine and Render.
This was a small side project in between jobs.
